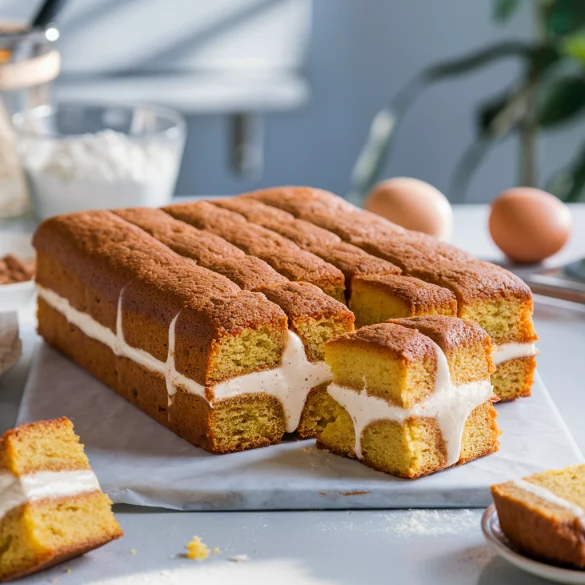
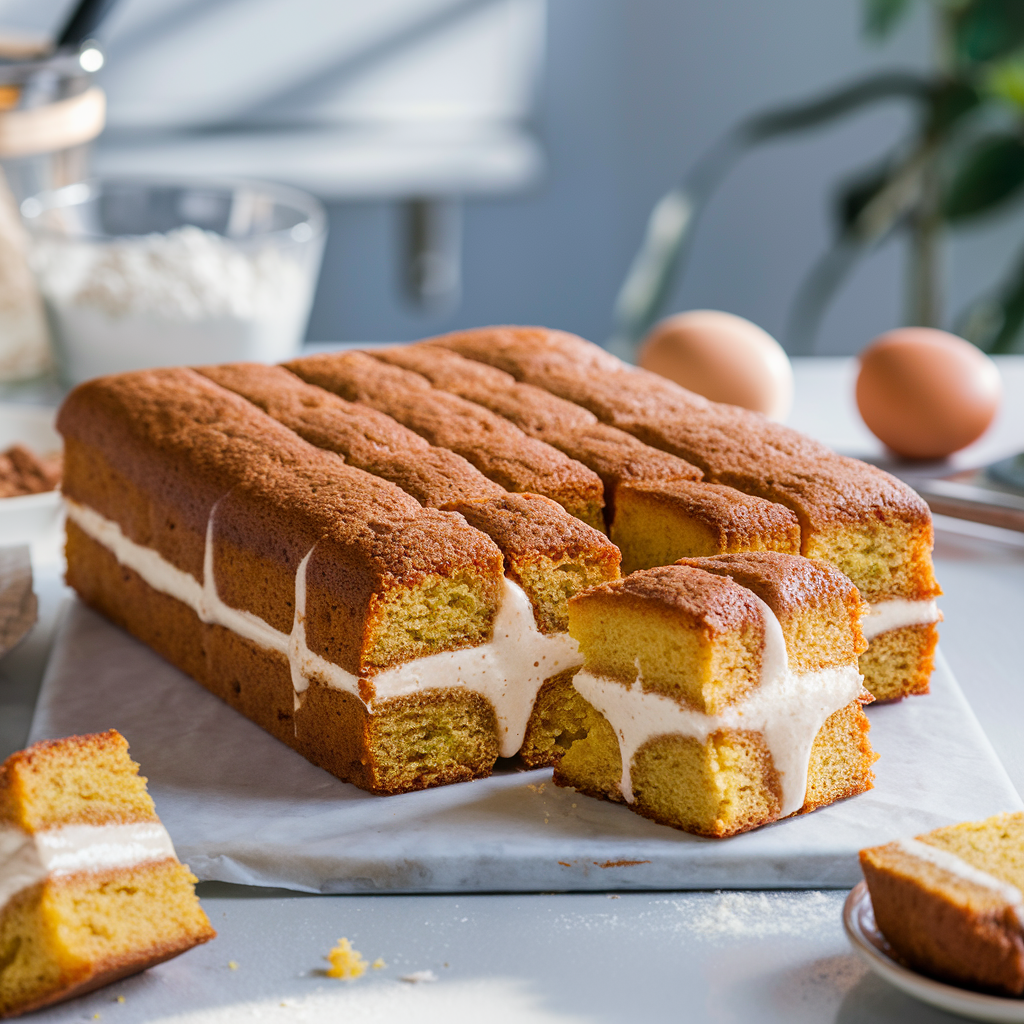
If you’re a fan of classic Twinkies, you’re going to love this homemade Twinkie cake recipe. This delicious dessert brings the nostalgic taste of Twinkies into a larger, shareable format that’s perfect for parties, gatherings, or just a special treat at home. Our Twinkie cake recipe is easy to follow and yields a moist, fluffy cake with a rich, creamy filling that’s sure to impress. Let’s dive into the details of creating this delectable dessert.
Table of Contents
What is a Twinkie Cake?
A Twinkie cake is a larger, cake version of the famous snack cake, Twinkies. Known for their golden sponge cake and creamy filling, Twinkies have been a beloved treat for decades. The Twinkie cake takes these classic flavors and scales them up, creating a show-stopping dessert that maintains the same delightful taste and texture.
Ingredients Needed for Twinkie Cake Recipe
Cake Ingredients
- 2 cups all-purpose flour
- 1 1/2 cups granulated sugar
- 1 tablespoon baking powder
- 1/2 teaspoon salt
- 1 cup whole milk
- 1/2 cup unsalted butter, softened
- 3 large eggs
- 2 teaspoons vanilla extract
Cream Filling Ingredients
- 1 cup heavy whipping cream
- 1/2 cup unsalted butter, softened
- 1 cup powdered sugar
- 1 teaspoon vanilla extract
- 1/4 teaspoon salt
Prep Time and Baking Time
Total Time
- Preparation Time: 20 minutes
- Baking Time: 25-30 minutes
- Cooling Time: 1 hour
- Assembling Time: 10 minutes
Step-by-Step Instructions
Step 1: Preheat the Oven
Begin by preheating your oven to 350°F (175°C). Grease and flour a 9×13 inch baking pan to ensure the cake doesn’t stick.
Step 2: Mixing the Dry Ingredients
In a large mixing bowl, combine the flour, sugar, baking powder, and salt. Use a whisk to mix the dry ingredients thoroughly, ensuring they are evenly distributed.
Step 3: Creaming the Butter and Sugar
In a separate bowl, cream together the softened butter and sugar until light and fluffy. This can be done using a hand mixer or stand mixer on medium speed for about 3-5 minutes.
Step 4: Adding the Wet Ingredients
Add the eggs, one at a time, to the butter and sugar mixture, beating well after each addition. Then, mix in the vanilla extract.
Step 5: Combining Wet and Dry Ingredients
Gradually add the dry ingredients to the wet mixture, alternating with the milk. Begin and end with the dry ingredients. Mix until just combined, being careful not to overmix.
Step 6: Baking the Cake
Pour the batter into the prepared baking pan and smooth the top with a spatula. Bake in the preheated oven for 25-30 minutes, or until a toothpick inserted into the center comes out clean. Allow the cake to cool completely in the pan.
Making the Cream Filling
Step 1: Whipping the Cream
In a chilled mixing bowl, whip the heavy cream until stiff peaks form. Set aside.
Step 2: Creaming the Butter and Sugar
In another bowl, beat the softened butter until smooth. Gradually add the powdered sugar, vanilla extract, and salt, and continue to beat until the mixture is light and fluffy.
Step 3: Folding in the Whipped Cream
Gently fold the whipped cream into the butter and sugar mixture until fully combined. Be careful not to deflate the whipped cream.
Assembling the Twinkie Cake
Step 1: Preparing the Cake for Filling
Once the cake is completely cool, use a sharp knife to cut the cake in half horizontally, creating two layers.
Step 2: Adding the Cream Filling
Spread the cream filling evenly over the bottom layer of the cake. Carefully place the top layer back on and gently press down.
Step 3: Chilling the Cake
For the best results, chill the assembled cake in the refrigerator for at least an hour before serving. This helps the filling to set and makes the cake easier to slice.
Serving and Enjoying Your Twinkie Cake
Slice the Twinkie cake into squares and serve chilled. This cake pairs wonderfully with a cold glass of milk or a hot cup of coffee. Enjoy the nostalgic taste of Twinkies in every bite of this delightful homemade dessert.

Nutritional Information
Here’s a rough estimate of the nutritional value per serving (assuming 12 servings):
- Calories: 450
- Total Fat: 25g
- Saturated Fat: 15g
- Cholesterol: 120mg
- Sodium: 220mg
- Total Carbohydrates: 55g
- Dietary Fiber: 1g
- Sugars: 35g
- Protein: 5g
FAQs about Twinkie Cake Recipe
Q1: Can I make this cake ahead of time?
A: Yes, you can make this cake a day in advance. Store it in the refrigerator, covered, until ready to serve.
Q2: Can I freeze the Twinkie cake?
A: While you can freeze the cake layers separately, freezing the assembled cake might affect the texture of the cream filling. It’s best enjoyed fresh.
Q3: Can I use a different type of flour?
A: All-purpose flour works best for this recipe, but you can use cake flour for a lighter texture. Avoid using whole wheat or gluten-free flour as they may alter the cake’s consistency.
Q4: Can I add other flavors to the cream filling?
A: Yes, you can add a variety of flavors to the cream filling. Try adding a tablespoon of cocoa powder for a chocolate twist, or a teaspoon of almond extract for a nutty flavor.
Q5: How do I store leftovers?
A: Store leftover Twinkie cake in an airtight container in the refrigerator for up to 3 days. The cake tastes best when chilled.
Conclusion
Creating a Twinkie cake at home is a fun and rewarding experience that brings the beloved flavors of the classic snack cake into a delightful, shareable format. This recipe, with its easy-to-follow steps and simple ingredients, allows you to enjoy the nostalgic taste of Twinkies while showcasing your baking skills. Whether you’re making it for a special occasion or just to satisfy a sweet craving, this Twinkie cake is sure to be a hit with friends and family alike.
From the moist, golden sponge cake to the rich, creamy filling, every bite of this Twinkie cake is a trip down memory lane. The detailed instructions and tips provided ensure that even novice bakers can achieve perfect results. Plus, the added bonus of nutritional information and FAQs makes this recipe not only delicious but also informative.
So why wait? Gather your ingredients, preheat your oven, and get ready to enjoy a homemade Twinkie cake that’s sure to become a favorite in your dessert repertoire. Happy baking!


Ingredients
Cake Ingredients
- 2 cups all-purpose flour
- 1 1/2 cups granulated sugar
- 1 tablespoon baking powder
- 1/2 teaspoon salt
- 1 cup whole milk
- 1/2 cup unsalted butter, softened
- 3 large eggs
- 2 teaspoons vanilla extract
Cream Filling Ingredients
- 1 cup heavy whipping cream
- 1/2 cup unsalted butter, softened
- 1 cup powdered sugar
- 1 teaspoon vanilla extract
- 1/4 teaspoon salt
Instructions
Step 1: Preheat the Oven
Begin by preheating your oven to 350°F (175°C). Grease and flour a 9x13 inch baking pan to ensure the cake doesn't stick.
Step 2: Mixing the Dry Ingredients
In a large mixing bowl, combine the flour, sugar, baking powder, and salt. Use a whisk to mix the dry ingredients thoroughly, ensuring they are evenly distributed.
Step 3: Creaming the Butter and Sugar
In a separate bowl, cream together the softened butter and sugar until light and fluffy. This can be done using a hand mixer or stand mixer on medium speed for about 3-5 minutes.
Step 4: Adding the Wet Ingredients
Add the eggs, one at a time, to the butter and sugar mixture, beating well after each addition. Then, mix in the vanilla extract.
Step 5: Combining Wet and Dry Ingredients
Gradually add the dry ingredients to the wet mixture, alternating with the milk. Begin and end with the dry ingredients. Mix until just combined, being careful not to overmix.
Step 6: Baking the Cake
Pour the batter into the prepared baking pan and smooth the top with a spatula. Bake in the preheated oven for 25-30 minutes, or until a toothpick inserted into the center comes out clean. Allow the cake to cool completely in the pan.
Making the Cream Filling
Step 1: Whipping the Cream
In a chilled mixing bowl, whip the heavy cream until stiff peaks form. Set aside.
Step 2: Creaming the Butter and Sugar
In another bowl, beat the softened butter until smooth. Gradually add the powdered sugar, vanilla extract, and salt, and continue to beat until the mixture is light and fluffy.
Step 3: Folding in the Whipped Cream
Gently fold the whipped cream into the butter and sugar mixture until fully combined. Be careful not to deflate the whipped cream.
Assembling the Twinkie Cake
Step 1: Preparing the Cake for Filling
Once the cake is completely cool, use a sharp knife to cut the cake in half horizontally, creating two layers.
Step 2: Adding the Cream Filling
Spread the cream filling evenly over the bottom layer of the cake. Carefully place the top layer back on and gently press down.
Step 3: Chilling the Cake
For the best results, chill the assembled cake in the refrigerator for at least an hour before serving. This helps the filling to set and makes the cake easier to slice.
Serving and Enjoying Your Twinkie Cake
Slice the Twinkie cake into squares and serve chilled. This cake pairs wonderfully with a cold glass of milk or a hot cup of coffee. Enjoy the nostalgic taste of Twinkies in every bite of this delightful homemade dessert.

